"Let them come! There is one dwarf yet in Moria who still draws breath!!"
- Gimli Son of Gloin, The Lord of the Ring
Lord of the Rings battle report Hobbit SBG - Moria Goblins vs Dwarves circa 1000 points
 |
| The Hobbit Strategy Battle Game Rule Book |
This week saw the return of Sam and Louis. I Joined Louis in leading a 1000 point dwarf army to try to reclaim the lost Mines of Moria and attempt to drive the hoards of Moria goblins out once and for all...
As always are playing the new Hobbit SBG rule from Games Workshop.
"Baruk Khazâd! Khazâd ai-mênu!"
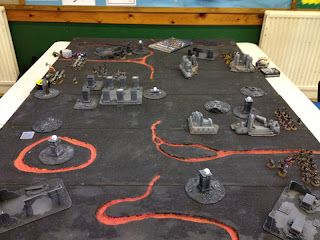
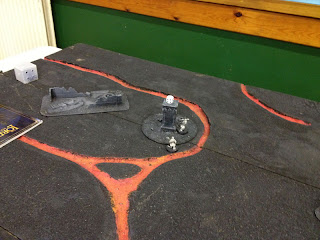
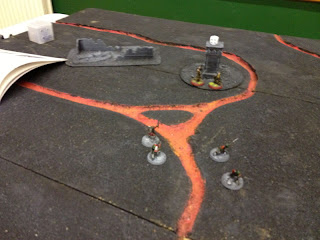
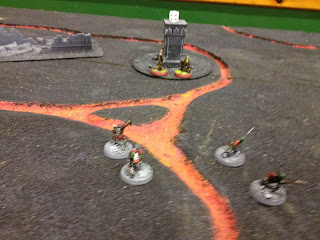
The battlefield was set up with a 6 x 4 board, full of lava rivers, these obstacles would be fatal if fallen into. Next the scenery was laid out and the game rolled for...
 |
| Hobbit SBG - Objectives in Moria Game Domination |
DOMINATION! except we decided to work across the board to allow for a quicker battle. Numerous ruins and structures were placed to represent a ruined Great Hall of Moria.
Each of the objectives were laid on the field, each side taking it in turns to place them.
The image to the right shows the placement of each of the objectives (a D6 was also placed in them, as you can see they are based on an old CD which allows the correct distance to the objective for troops).
Next was deployment, each side taking it in turns to deploy a unit at a time. Once the pieces were set it was time for our latest Hobbit Strategy Battle Game to begin.
Below are the pictures from the battle, I will not go into great detail regarding spells, but will simply concentrate on the key elements to the battle and let the pictures show the game...
...who will win Durin and his royal army of Dwarves or Druburz and his hoard of Goblins?!
 |
| Hobbit SBG Battlefield- The Mines of Moria |
 |
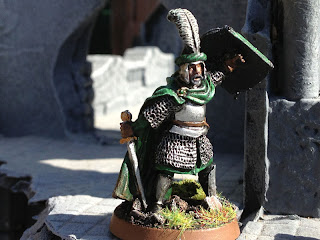
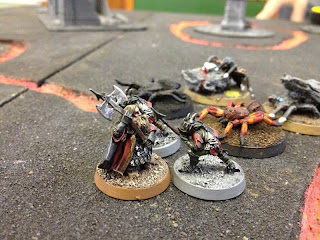
| Hobbit SBG - The Kings Champion |
 |
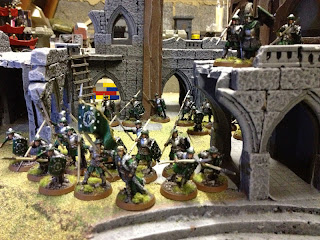
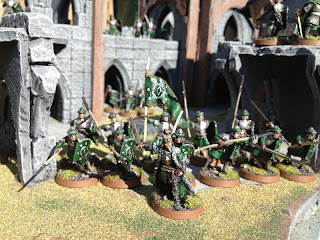
| Dwarf King and warband of Dwarf Rangers |
 |
| Moria Goblin Warbands |
 |
| Dwarf King and Shielded Warriors |
 |
| They've got a Cave Troll and some Black Shields |
 |
| Moria Bats and Spiders - Dwellers Below |
 |
| Sam Deploys his Moria Army |
 |
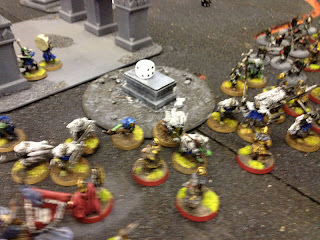
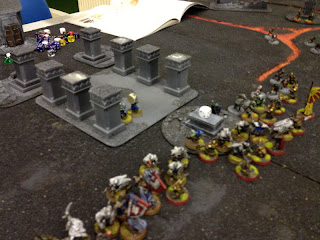
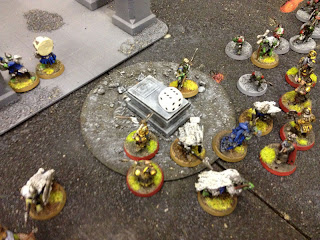
| Centre objective looks set to be swarmed by Moria and Blackshield Goblins |
 |
Louis deploys his Army - Durin, shield bearer and a bunch of
Khazad Guard |
 |
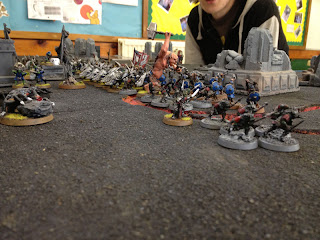
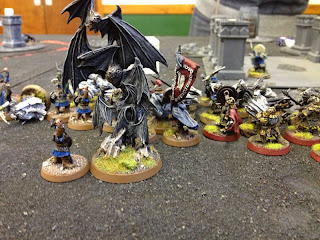
Battle lines are drawn - The Kings Champion
is holding the middle of the line |
 |
| Dwarf priority... and they hold |
 |
| Outnumbered - the dwarves wait and The Kings Champion advances |
 |
| Dwarf King and his rangers take first objective marker |
 |
Moria take the next priority and start their charge
at the far end of the line |
 |
| The Dwarf King is charged by the Cave Troll |
 |
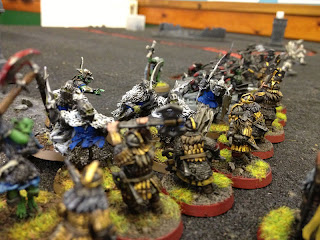
Durburz avoids the Kings Champion and attacks the
dwarf shields |
 |
Durin and his Khazad Guard prepare to battle it out with
the might of the Black shields |
 |
Khazad Guard look seriously outnumbered and will need to pull off
some good dice rolls to win the battle on the flank |
 |
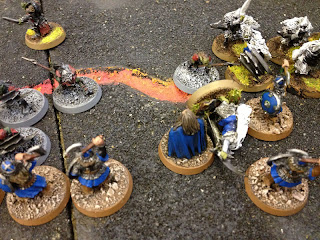
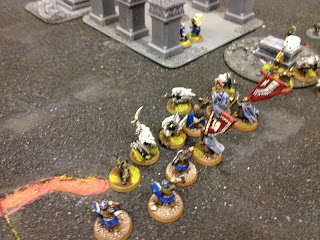
| Dwarf shields engage the Goblins jumping the lava flow |
 |
Dwarf rangers start to look for targets to shoot at and spot
a warband of Goblins and spiders heading there way! |
 |
Moria Goblins and spiders head towards the Dwarf objective -
the rangers prepare for the battle |
 |
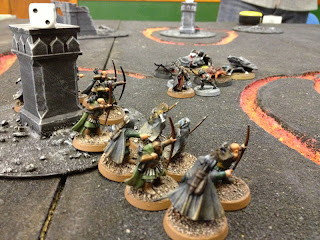
| Dwarf rangers start to whittle down the spiders and goblins |
 |
"AIM FOR THE SPIDERS!" my king calls and so the rangers
set to work clearing the advancing warband |
 |
| The King and the troll fight it out for the flank and the goblins try to take the corner |
 |
The King Champion pushes the attack against Durburz
and is attacked from behind by the bat swarm |
 |
Durin is in the thick of the fighting, Louis' dice rolling is simply awful
and the dwarves start to loose the flank,
with gaps appearing in their line |
 |
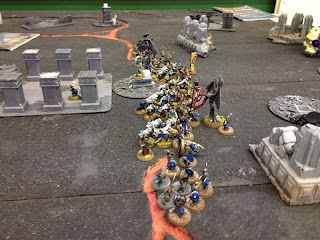
| The Goblin Black Shields Push and take their first objective |
 |
Louis sends two Khazad Guard to take another objective -
this time it's one that Sam and his goblin army put down |
 |
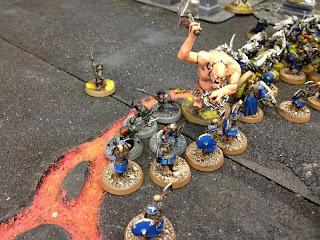
| The Troll towers over the Dwarven shields |
 |
Baruk Khazâd! Khazâd ai-mênu! The Rangers King charges forward on his own
to block the advancing Goblins and spiders |
 |
| Aim for the Spiders! |
 |
| The Rangers now concentrate on picking off the spiders on either side |
 |
The Troll is Slain by the Dwarf King - the Goblins look on in shock
their flank is now wavering |
 |
| Pushing the advantage the Dwarves surround the Goblins |
 |
Must kill the Bats -
both Louis and I thought that Sam was going to use these to slip in and
steal objectives at the end of the battle... needless to say, they were going to die! |
 |
Half way through the battle for Moria and the lines are battling and wavering all along.
It is still anyone's game. |
 |
| Khazad Guards fill the gap and try to stop the Goblin advance |
 |
| The Dwarf King easily takes on two Moria Goblins |
 |
| Dwarf warrior splits the bats from the Kings Champion and sets about killing it |
 |
Having taken one objective, the rangers set about taking the far objective...
...wait |
 |
| The ranger can see one last spider hidden behind the objective |
 |
The spider is hoping that the dwarves legs are too small to get them across the
field in time to attack and take the objective |
 |
The Dwarf king and his last few shields kill the Goblins and
the flank is secure |
 |
The Kings Champion and Durburz exoend might to raise their fight values to 10,
there will be a winner and a loser in this |
 |
| Khazad Guard are holding on and starting to roll much better on the dice |
 |
| But the Black Shields again get the upper hand and Durin is looking vulnerable |
 |
The Moria Goblins make a break for the far objective as
the Khazad Guard try to slow them |
 |
The dwarf rangers are now in range of the spider, but rolling 5 to get passed
the 'in the way test' is proving tricky |
 |
| Rangers start to target the Shaman |
 |
Sam moves his Shaman and the Drummer so that they are out of
the range and line of the bows... for now |
 |
Durin, seeing the bat swarm pulls back and goes for the kill,
his Khazad Guard close the gaps |
 |
Realising that it is only a matter of time the spider pounces on the dwarf king,
only to be surrounded by rangers, while two go for the objective |
 |
Goblins break out and run toward the far objective,
two Khazad Guard sharpen their axes |
 |
Trying to avoid ranger bow fire the Goblin Drummer cowers hides
behind a column, Sam is convinced he's safe. |
 |
| The Ranger, points and shouts "I CAN SEE YOU!" |
 |
| It's gonna be a tough shot, but there he is. |
 |
4 vs 2 - The Goblins advance onthe objective, can they make it...
...Sam counts his losses... 6 more to break me... |
 |
We can see the drummer too! The Dwarf King calls heroic accuracy
to aid his bows to try to kill that drummer |
 |
| The Kings Champion and the King kill all in their path - hold the line! |
 |
| The Khazad Guard now push for the centre objective |
 |
| HOLD! There are only 4! |
 |
Last round, the dwarf rangers are popping shots wildly at the
drummer, but cant get passed the column |
 |
| The drummer in view, one more kill would be good |
 |
The Dwarves are now in control and the Moria army is in disarray
"Take the objective in the Centre" |
 |
| The last of the fighters, still battlling it out |
 |
| Rangers relax, the last round and their fight is over |
 |
The Khazad Guard storm on to the objective and
contest Sam's 3 points |
 |
With the Goblins broken, they drop like flies, those that don't
run away are mopped up by the Dwarves |
 |
| The Dwarf Rangers still try to get the drummer |
 |
| The battle ends and the armies stop the fight |
 |
| The Kings Champion has left a gap in the Moria flank |
Final Thoughts
Well, I loved this game, the board added an element of risk and I was impressed with the way the dwarves were so hardy. Sam was drawn into the battle and lost sight of the objectives, resulting in 4 uncontested for the dwarves, Durburz dead and his army broken; their only point came from the centre of the field where they held on to contest their first objective.
Final score Dwarves 19 - 1 Moria Goblins.
 |
Man of the Match:
Hobbit SBG - The Kings Champion |
Man of the Match
Again this was easy, Sam would say his shaman... that fury was well worth the points, but both Louis and I agreed - (and It hink Sam will too) the Kings Champion was awsome, killing Durburz, goblins and drawing a host of gobbo's in to deal with him... none could even scratch him as he simply cleared the flank of little green Moria Goblins.
Simply awesome.
My next dwarf army will definitely be featuring him in a warband.
So another win for the Dwarves (19-1).
Thanks again and I hope you enjoyed it!
To see my fully Painted Armies please visit this blog:
LotR / WotR Dwarf Army (UPDATED)
LotR / WotR - Moria / Misty Mountains army
LoTR/ WotR Angmar Army
LoTR / WotR Huge Mordor Army
LoTR / WotR Isengard Army
We are about to start playing The Hobbit SBG - both skirmish battles LotR/Hobbit and walk through the books/films as well as the odd WotR on club nights.
We welcome anyone interested in playing The Hobbit, Lotr SBG, WotR or any warhammer/40K battle - why not let us know so that we can arrange some starter battles, like the one above, or if you/your club want to challenge us. We have all the LOTR SBG figures and LOTR scenery from the Mines of Moria to the siege of Helms Deep ready and waiting.
Feel free to email us to come along or arrange a game.
East Grinstead War Gaming club
Sussex


